What is a house kit, and why should I consider one?
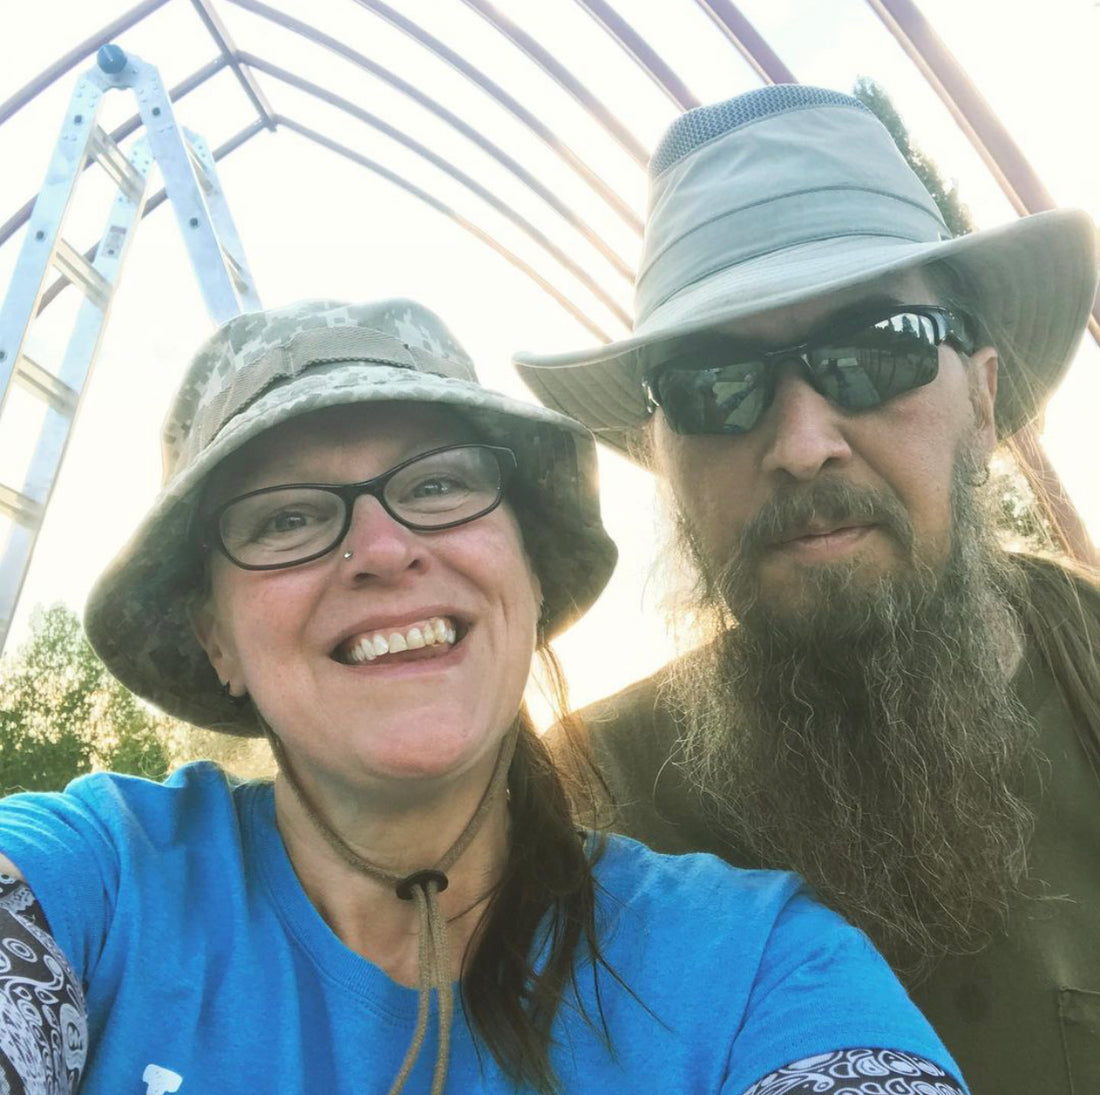
This week we are assembling our arched cabin house kit! So just what is an Arched Cabin? And what is a house kit?
An Arched Cabin is a steel construction kit that you put together like you would a set of tinker toys or legos Except you would use screws instead of the pieces just snapping together. Shed kits are commonly purchased from any big box, home improvement store, and the average handyman can stand up a shed in a weekend. The difference between a shed kit and the arched cabin house kit is that these are made from steel, and also have customizable floor plans for a little extra money. You should consider a house kit if you have a relatively small budget, and a little know how because it can save you a significant amount of money in the long run.
Watch the video embedded above to see how we went about assembling our Arched Cabin House Kit!

Why did you choose this type of kit?
The arched cabin house kit was one of the most affordable house kits on the market , and when we started researching what type of home that we wanted to put on our property this one really jumped out at us.
Not only was it a unique and visually appealing, but it seemed to be the most cost effective way to place a house on our property.
The nice thing about this kit, is that you can fine tune your costs by spending less on the things that aren't as important to you, and save up to spend on the larger ticket items that you feel will suit you best. In essence, it's like having a custom build without the custom build price tag. Because of this, it is steadily becoming a popular option for those who wish to pack up and move away from the city, but don't have a huge budget to do so.
What is next for the build?
Next up for the build we need to save up and purchase the 3" square tube that will be welded across the front and back of the house kit. Those sections of steel are needed to help sturdy up the frame, and to help make this structure strong. Once we finish that step, then we'll have a partial framing inspection, and then we will begin the process of framing in the end caps. The end caps are the front and back of the cabin which will close in the structure and it will be on its way to becoming our home.
In conclusion
If you can take some time to learn some new skill, or have someone working with you who has basic handyman skills, then you have an affordable option for building a home. They are a fantastic choice for those looking to build a home, and do it at a reduced cost. A custom build without the custom price.
How much does building your own house cost?
Total Cost for this week
Total costs for assembling the Arched Cabin House Kit over the weekend:
Self Tapping Lag Screws - 2 boxes of 100 ($22.99 each) $45.98
Hillman Lag bolts - 3" - ($.40 each x 12) $4.80
DeWalt Impact 5/32" drill bit ($5.99 each x 3) $17.97
Ace Drill bit for wood and metal $1.79 (best drill bit we used)
TEKS #14 2 1/2" socket hex head Sheet metal screws from Lowe's (sheared off and worked like garbage for this application) 120 screws $20.68
Safety Harness $49.99
Rope for Safety Harness $33.85
Total for materials this week: $175.06
Previously Purchased, but not previously mentioned:
Sonotubes $302
3" Square Tube for the Piers $1250
Rebar $31
Misc Lumber for assembling post and pier foundation $54.56
Total missed cost from foundation: $1637.56
Previously Tallied Costs:
20 X 32 Arched Cabin House Kit: $13,032.50. (paid in 2017 and includes the delivery cost)
Architect to finish plans for permits & help navigate some building department stuff. $1570
Initial Soil Testing $1550
Open Hole Inspection $325
Driveway Permit $50
Pre-Site Inspection $40
Permits $1797
Excavation $14,062.70 (we ran into the septic line at one point, plus there’s also an easement being installed between our place and Mike’s Mom’s place)
Power Drop $3026
Concrete $1020.40
Shipping Container $3344.25 – Will become a workshop after the build
Tile & Sink for downstairs bathroom $563.10
Meter Box Install – $448.20
Septic Line to the house $164.48 or $3.46/foot.
Water line from the control pit to the house $321.15 or about $7.14/linear foot
Power line from the pole to the house $596.54 or about $4.77/linear foot
Beams & Supports tied together (Welding & Materials) – $275.60
2″ Angle Iron x 3/16″ thick – 32′ $56.07
Labor (cutting steel to fit in the bed of the truck) $6
Lag Bolts for all of the floor joists, and I believe this also includes the lost 1/4′ x 1 1/2″ – 80 of them $.21 each – $16.80
Floor joists 2x10c16 Pressure treated #2 – 60 of them @$22.48 (Price is already up to $38.67 4 months later!) – $1348.80
Total Cost (excluding land) $45,427.21 (including this week’s supplies as well as the sonotubes, 3" square tubes, and rebar for the foundation)
Products used during this week’s adventure of raising the kit!
Arched Cabin House Kit
Affiliate Link:
Hillman Fasteners that worked VERY well
Impact Driver (recommend one for each person screwing or drilling)
Greg's Cordless Milwaukee Set
Bob's Cordless Makita Set
Drill bits from Ace (not affiliate)
Dewalt Impact Drill bits (not affiliate)
Fubar III
Come Along
Giant Tow Strap
Ways to support our journey if you wish
This Week's Guest Stars! - Bunny Butt Acres
Watch us on YouTube – Don’t forget to like and subscribe.
Buy Soap!
Become a Patron!
Subscribe to us on Subscribe Star!
Want to build your own Arched Cabin? Visit their website! (we receive nothing from Arched Cabins)