How do we install the floor joists?
We started with our lumber which is 2x10x16 foot #2 Prime Pressure Treated Lumber that we purchased from Lowe's at the end of October in 2020. I just want to point out that the prices had already gone through the roof when ordering these materials, but now they are still even another 52% higher at the time I'm writing this than when we purchased the lumber. I think with the pandemic and so many supply chain issues, it might be awhile before prices go back down.
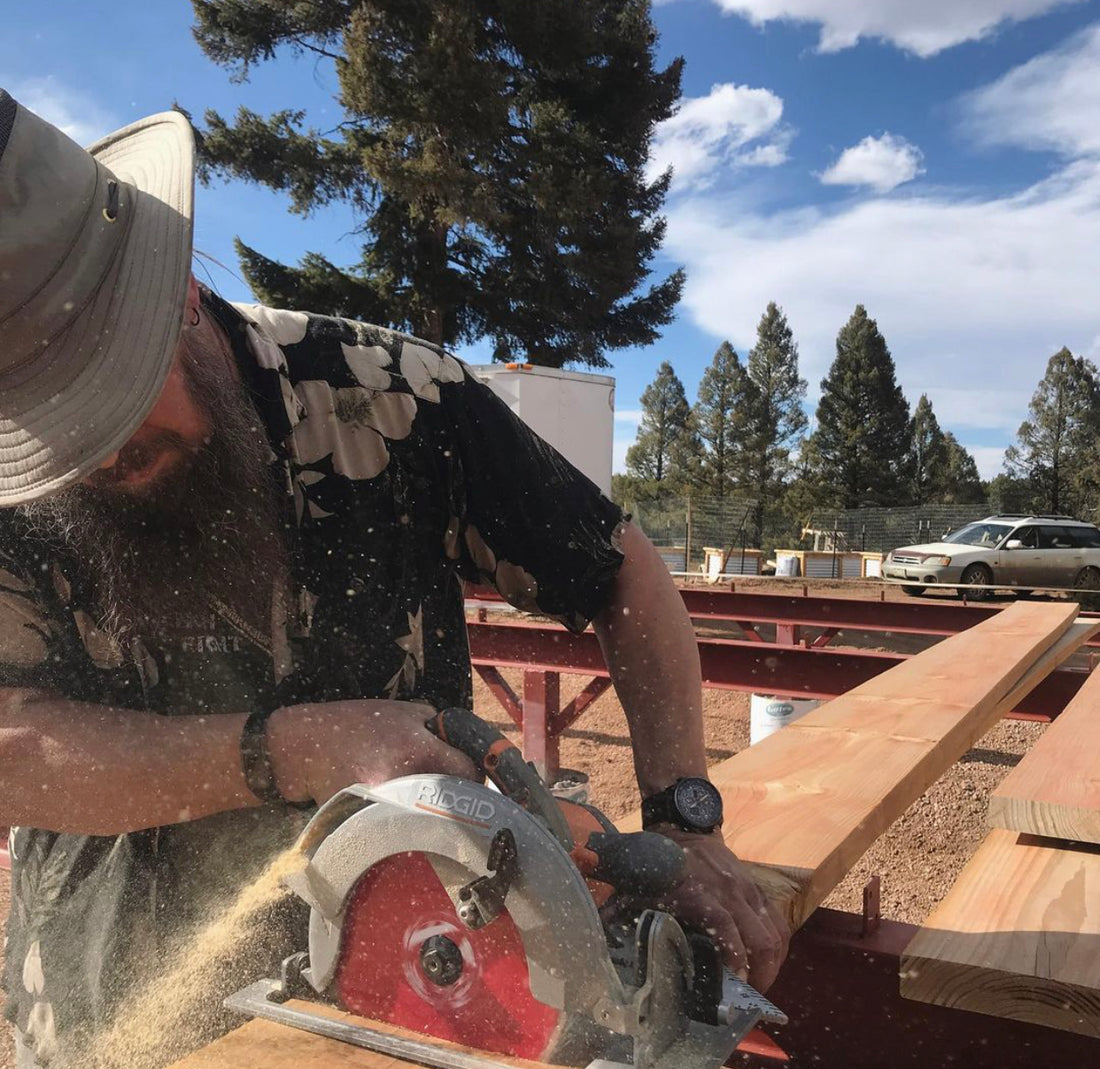
Then Mike of course has done this before, but I've never installed floor joists. So I had to learn how to do it! One thing for sure is that we definitely have too much overlap. We will have to take these down before we finish the rest to cut them down to size. The overlap of wood beams should be about 2 feet, but we ended up with 10 feet dead on. We'll be cutting those 2x12x10 Douglas Fir down to size before we finish the rest. We'll use the scraps to wrap around the outside of the subfloor and also for the blocking in between each floor joist. Watch our video on YouTube to see how we did it!
We actually put these up somewhere between Thanksgiving and Christmas, so I've been holding onto this footage for a bit, but I had some technical difficulties with my editing library where all of my footage is stored. As a result, I'm just cleaning up the footage, and posting them instead of waiting until we finish this portion of the project.

What is our background with the construction process?
This is my first time doing this kind of construction, but Mike has replaced floor joists in the past. His construction experience is not quite as limited as mine, but I do know that he built a nice little workshop shed in Denver. I even managed to help slightly on that project by handing him tools or helping hold up the wall. I even did a little painting, and learned why you don't paint when it's cold outside. That shed was peeling before the end of a year. At least I know what NOT to do next time!
What are you working on now?
It's still pretty cold here in the mountains of Colorado, and so we are working on maintenance projects while we wait for the weather to warm up a bit more. We have several automotive repairs that need to happen and we need to replenish our firewood piles for this year and for the coming seasons. I have started a side channel on YouTube called, "The Lazy A-Hole Recliner Show" where I am following those side projects I've mentioned. This week I'm talking firewood and the Swedish method for fire starting.
I have also made videos on welding, cooking, and gardening as well on the secondary channel. I'm always open to suggestions, so if there's something in particular that you'd like to see us take on, leave a comment on any of the videos or in the comment section of this blog.
We also have to finish the leach field for the septic next door at Mike's mom's house, and you 'll see that video hopefully soon, and I've started getting everything together to start my seeds. We are again still just waiting for slightly warmer weather to get started on all of these outdoor projects. Until then, I invite you to follow along as I tackle a whole host of other side projects and life on the ranch.
How much does building an arched cabin cost?
Today's Costs for ALL of the floor joists for the subfloor, and not just what we did in the video::
Lag Bolts for all of the floor joists, and I believe this also includes the lost 1/4' x 1 1/2" - 80 of them $.21 each - $16.80
Floor joists 2x10c16 Pressure treated #2 - 60 of them @$22.48 (Price is already up to $38.67 4 months later!) - $1348.80
Total for materials this week: $1365.60
20 X 32 Arched Cabin House Kit: $13,032.50. (paid in 2017 and includes the delivery cost)
Architect to finish plans for permits & help navigate some building department stuff. $1570
Initial Soil Testing $1550
Open Hole Inspection $325
Driveway Permit $50
Pre-Site Inspection $40
Permits $1797
Excavation $14,062.70 (we ran into the septic line at one point, plus there’s also an easement being installed between our place and Mike’s Mom’s place)
Power Drop $3026
Concrete $1020.40
Shipping Container $3344.25 – Will become a workshop after the build
Tile & Sink for downstairs bathroom $563.10
Meter Box Install – $448.20
Septic Line to the house $164.48 or $3.46/foot.
Water line from the control pit to the house $321.15 or about $7.14/linear foot
Power line from the pole to the house $596.54 or about $4.77/linear foot
Beams & Supports tied together (Welding & Materials) - $275.60
2" Angle Iron x 3/16" thick - 32' $56.07
Labor (cutting steel to fit in the bed of the truck) $6
Total Cost (excluding land) $43,614.59 (including this week's metal working supplies)
Products used during this week's adventure of floor joists!
Arched Cabin House Kit
2x10x16 Pressure Treated Lumber
1/4 x 1 1/2" lag screws
Milwaukee 3/8" Cordless Ratchet (Affiliate Link)
Ways to support our journey if you wish
Watch us on YouTube – Don’t forget to like and subscribe.
Subscribe to us on Subscribe Star!
Want to build your own Arched Cabin? Visit their website! (we receive nothing from Arched Cabins)